Follow this procedure to ensure successful dyne testing when treating to improve adhesion of inks, glue, lacquers and coatings on paper, film, and foil.
What you will need:
- Safety equipment: gloves and safety goggles should be used to ensure no contact is made with skin or eyes
- Sterile eye-dropper or small cap to place the liquid
- Cotton swab for application to material
Step by step:
- Wet the very tip of the cotton applicator with one of the mixtures using the eye-dropper or sterile cap. Use a minimum amount of liquid as an excess of reagent can effect the end point of the test. This first mixture is our starting point. Do not use the same eye-dropper or cap for all liquids. This will cause contamination. Either sterilize the eye-dropper or cap between mixtures or purchase eye-dropper caps for each solution.
- Spread the liquid lightly over an area approximately one inch squared of the test material. Do not try to cover a large area lest there be insufficient liquid to give complete coverage.
- Note the time required for the continuous film of liquid form in step 2 to break up into droplets.
- If the solution stays intact for two seconds, the treat level is at least as high as the dyne level of your selected solution.
- Repeat the steps above, each time with a higher dyne solution until the solution beads up.
- The dyne level would be identified as the last solution level that remains wetted out and intact for two seconds.
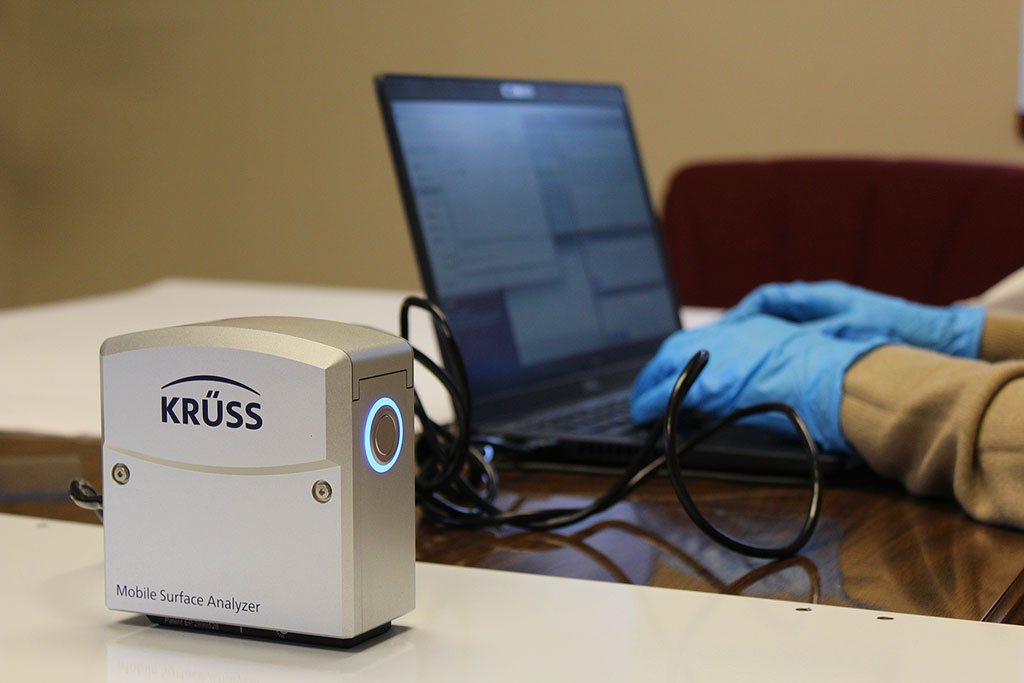
QC also offers extensive material analysis via QC’s in-house testing laboratory. If more information is required for product development purposes (surface tension, surface free energy, wettability diagrams, and more) please contact sales@qcelectronics.com to begin consultation. Customers receive a detailed analysis of sample materials pre and post treatment. This service is free of charge.
Questions regarding dyne solution and testing? Contact sales@qcelectronics.com or +1-608-742-1661 for more information.

