24/7 Emergency Support
We are available around the clock for those emergencies nobody planned for. Call 608-742-1661 to be promptly connected with an on-call engineer.
Remote Assistance
Our corona treaters are designed for remote assistance. Service engineers easily diagnose and resolve issues without the cost of on-site visits.
Helpful Resources
Articles, tutorials, and troubleshooting guides are available. Contact engineering@qcelectronics.com for model specific documents.
Quick Response Times
We’re a small family-owned business. Need we say more?
Easy PM
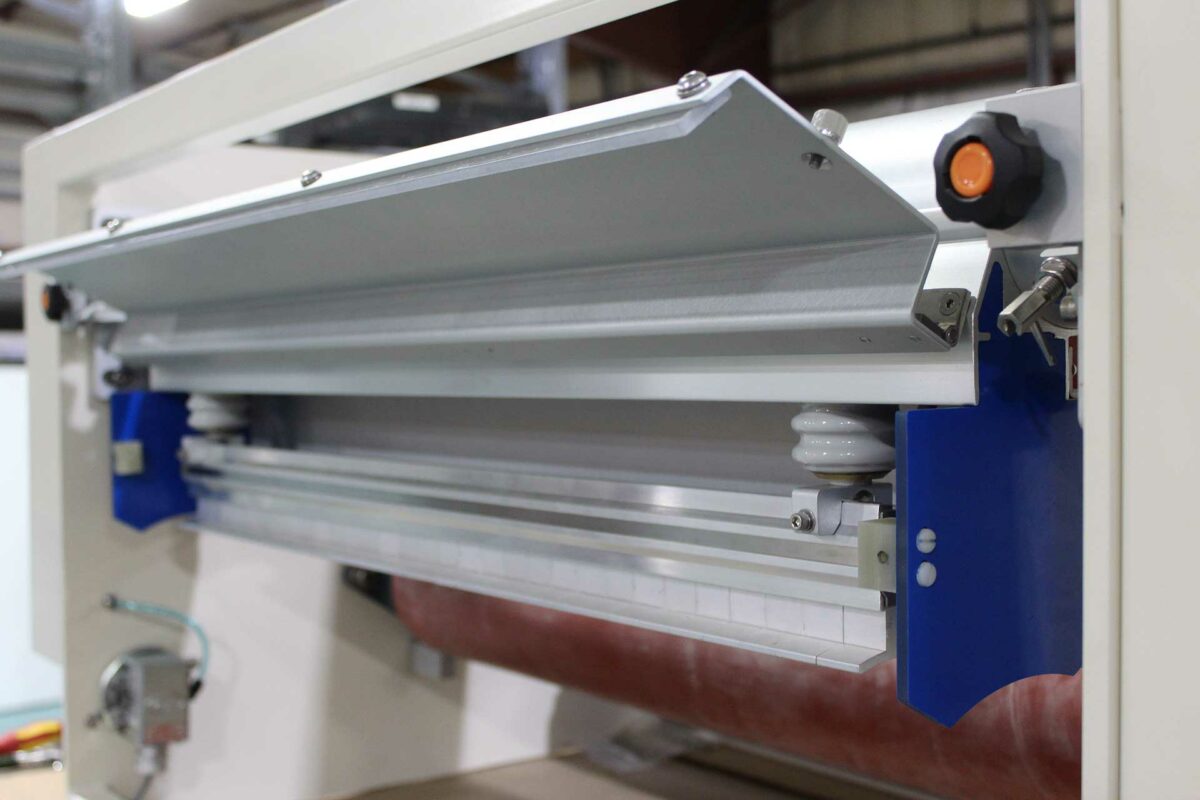
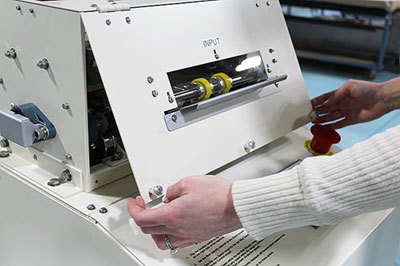
Every one of our corona treaters was designed with the user in mind. This means less required maintenance, and simplified procedures when it is required.
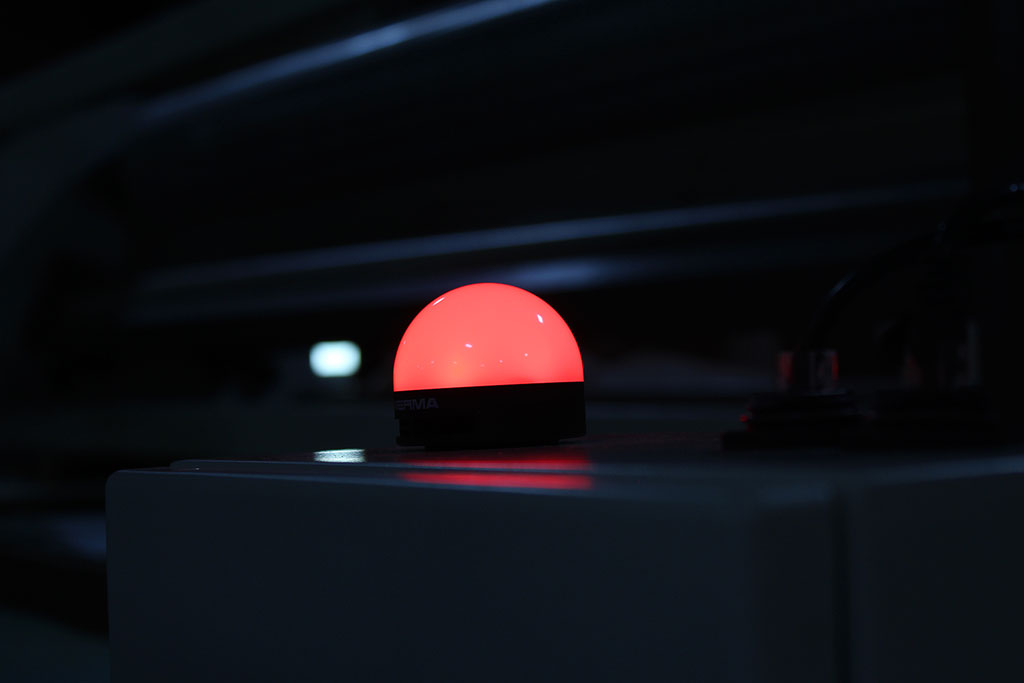
Automated Maintenance Alarms
Forget keeping a schedule. The treater keeps track of itself and lets you know when it needs maintenance.
Helpful Resources
Recommended Spare Parts
With these parts on hand, servicing the equipment is instantaneous, and you won’t have to worry about lost production hours.
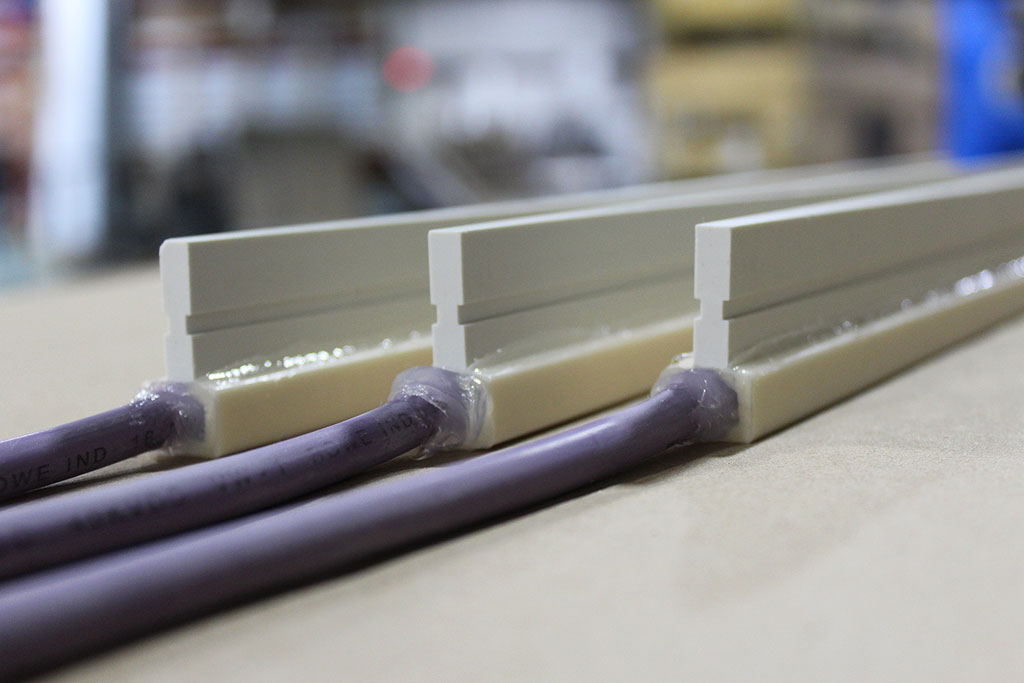
- At least two spare ceramic electrodes.
- A power supply spare parts kit.
Contact sales@qcelectronics.com to place an order.
If your station has a silicone sleeved ground roll:
- Spare silicone sleeving.
- Power supply spare parts kit.
If your station has a coated ground roll:
- Have a spare coated ground roll on hand. This way when a coating is ready to be replaced, you can pop the spare roll in and continue production. Otherwise, you will be down for weeks waiting on a strip and recoat.
- Power supply spare parts kit.
Contact sales@qcelectronics.com to order spare parts kits and consumables.
Preventative Maintenance
The following checks should be done every time the electrode maintenance log indicates a maintenance check, or every 500 hours on analog controlled units.
- Ensure the fans are not clogged with debris and proper air flow is achieved.
- Verify debris buildup is not occurring around heatsinks.
- Heat is the #1 failure of semiconductors, to avoid unnecessary maintenance, blow the heatsinks off with compressed air every 500 hours.
The following checks should be completed upon maintenance log indication, or every week if ran 24/7 (160 hours).
- Clean the face of the electrodes with isopropyl alcohol. Compressed air can be used to loosen any debris or burn off that accumulates around the electrode assembly and/or mounting blocks.
- Verify cooling slots are free of debris. If debris buildup is present, loosen the debris and clear from the slots. Ensuring proper airflow allows proper cooling of dielectrics (electrodes or roll coatings depending on configuration).
- Clean the face of the ground roll with isopropyl alcohol. Ensure that the treater is not run while the roll coating has any moisture / residue left over from cleaning.
Request a full copy of our PM guide here.
Consumable Installation
Procedures to guide you through installing corona treater consumables.
- Trim the electrode wire to your desired length.
- Make sure the electrode high voltage wires DO NOT touch metal or another control wire. They should have at least 1.5″ clearance.
- Make sure the electrode is properly seated in the mounting block.
- Re-gap electrodes to 0.060 after installing new electrodes. Use the provided electrode gap gauging tool. If you lost or need a replacement electrode gap gauge for your QC corona treater, contact us and we will send a replacement to you free of charge.
Additional Precautions
- Do not allow electrodes to rub on the roll surface.
- Keep ceramic electrodes clean and free of plastic, glue, or other contaminants. Clean ceramic when/if any of these items are present as they will cause failures.
- Behind the electrodes are the cooling holes or slots (depending on the make of the corona treating station). It is very important that these holes remain free and clear of debris and build-up.
- DO NOT use nylon screws in electrodes or on the corona treating station. Contact us for special high temperature/high dielectric screws.
During the following procedure, keep working area and sleeve surface as clean as possible. Avoid damage of sleeve surface when using tools. You will need two people to complete this procedure.
- Place roll in vertical position on the floor or bench.
- Slip the open end of the sleeve over the upper end of the roll by approximately 2-3 inches.
- Introduce the nozzle of a high-pressure air line between the sleeve and the roll.
- Hold sleeve firmly with both hands while the air valve is slowly opened by an assistant.
- While sleeve fills with air, it will expand and can be pulled all the way down over the entire length of the roll.
- Make sure that the sleeve projects over the roll face on both end by at least 1 inch.
- Connect the top ribbon header to the bottom cable connector on the circuit board.
- Connect the bottom ribbon cable header to the top ribbon connector on the new control board.
- The ribbon cables crisscross when installed correctly.
Cleaning Procedures
To extend the longevity of your corona treater we recommend routine cleaning and maintenance every 500 hours of operation.
Use lint-free rags and isopropyl alcohol to wipe down the entire assembly. You may use Scotch Brite pads on the electrode as well to gently remove any buildup. We recommend cleaning every 500 hours of operation – it is great to work cleaning into your schedule whenever you have a job change or some downtime.
Wipe the surface with lint-free rags that are dampened with an appropriate solvent. Solvents such as isopropyl alcohol (IPA), methyl ethyl ketone (MEK), naphtha, trichloroethylene (TCE) could be used depending on what needs to be removed from the surface. Rubbing gently with an abrasive pad (Scotch Brite) also works with some buildups. The key is to avoid soaking the surface with any liquid which could penetrate the coating and lead to arcing if it is conductive or not thoroughly dry before applying power to the system. It is best to test an area close to the end of the roll and outside of the web path. We recommend cleaning every 500 hours of operation – it is great to work cleaning into your schedule whenever you have a job change or some downtime.
Use an air hose to remove dust and particle buildup from the vents and components of the power supply when buildup is visible. Typically, every 2000 hours of operation.
Troubleshooting FAQ
- Check inverter SCR for failure.
- Check inverter diode for failure.
- Check reset transformer diode for failure.
- Check converter SCR for failure.
- Verify filter caps are intact.
- Verify terminals 1, 2 on TB1 are intact.
High voltage trip is verified by LED sequence Red, Amber & Green, Green, Red. The unit will continuously cycle this fault until resolved.
Possible Causes
- New electrodes were just installed, and the wires were not trimmed adequately. If new electrodes were recently installed, verify all electrode wires are at least 1.5″ from any ground potential / other wiring. The high voltage will arc right through the insulation of the wire if too close to ground or control wires.
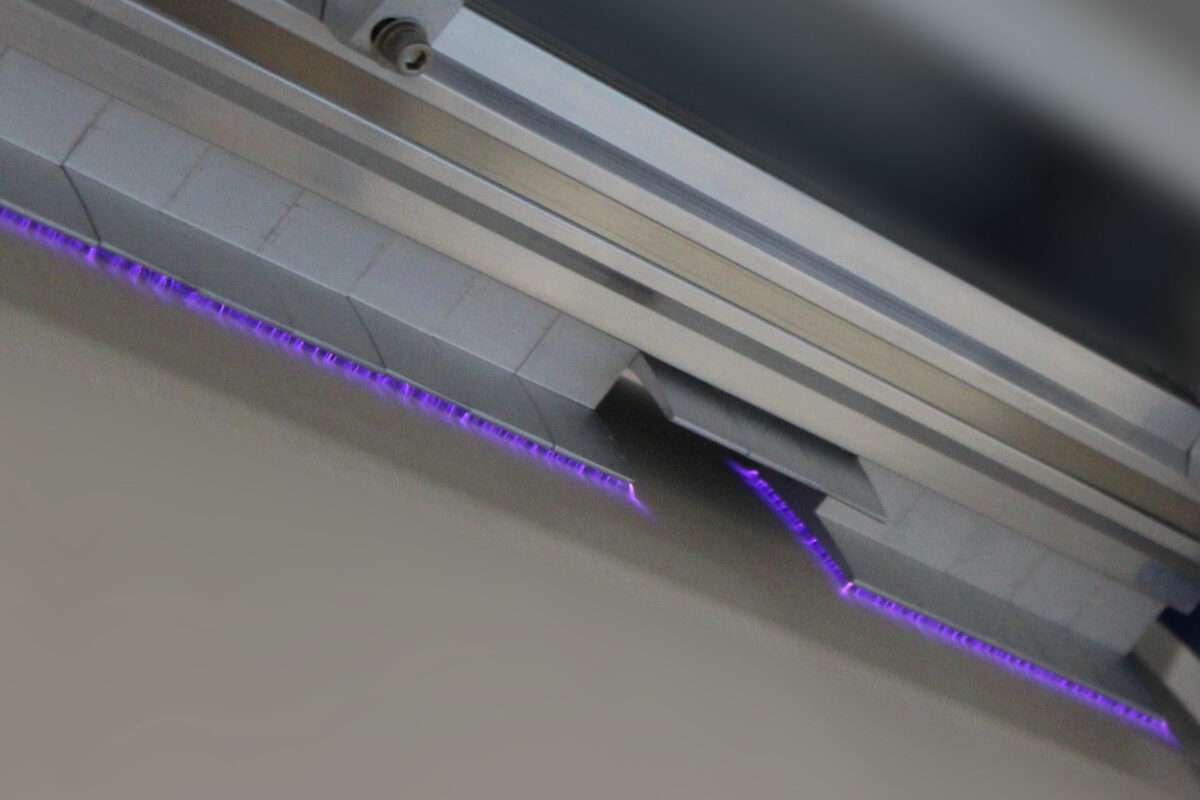
- Pin holed electrodes. Pin holed electrode(s) can cause the unit to cycle a high voltage trip. Pin holed electrodes must be replaced or disconnected until replaced. Units can run with pin holed electrodes disconnected, but there may be a decrease in line speed required to accommodate for the lack of electrode area, ultimately limiting the maximum amount of power (KW) to be applied. Pin holed electrodes can be visually seen by standing at least 3’ from treating heads and viewing the corona discharge area of the electrodes. Violent arcs in the same spot repetitively indicate a high voltage trip. The process of elimination must be used to verify pin holed electrodes if unable to visually see. Disconnect all electrodes but one and try running the unit. If the unit stays on, continue adding electrodes back on. When a high voltage short is indicated again, it is known which electrode caused the issue.
- Pin holed ground roll coating (covered roll applications only). Pin holed ground rolls are determined by high voltage trips occurring on the spot of the roll when it rotates. If the unit can run around the entire roll except for a specific spot, it is known that that area is pin holed.
- Carbon tracking occurring on insulators. Teflon / G10 Insulators holding electrodes are prone to carbon tracking after prolonged use. Carbon tracked components must be replaced. Ask QC Electronics about the new trackless assemblies.
- Is it a humid day? Check for condensation inside the treating head. If condensation is present, run the blower for 20 minutes prior to scheduled production or run the unit at a low Kilowatt setpoint for 20-40 seconds.
Possible Causes
- Ground brush is worn out. Replace / inspect the ground brush on the EX-end of the ground roll(s) every 500 hours.
- Grease must be applied into the grease zerk on the bearings. Use Mobilith SHC 100 grease. DO NOT MIX GREASES.
-
- In dirty environments, grease every 6 months.
- In clean environments, grease every 12 months.
- In washdown or extremely dirty, grease every 3 months.
If the roll continues to spin roughly, examine the bearing for any damage or wear.
Measure the HV end of the roll face to the endplate and then measure the exhaust end of the roll face to the endplate. If both measurements are not equal, the roll shaft could be rubbing on the treating station endplates.
Request Service
Fill this form to be contacted by a QC engineer. For after-hours phone service, please call 608-742-1661 and you will be connected to one of QC’s on-call engineers.
